- Place your main hive where you can manage participation and the return march, not simply as close to the target as possible.
- Base rally timing on the march time shown in-game, not how close castles look on the map.
- Keep the forward position separate from the regrouping area, and decide when to retreat before fighting starts.
CONTENTS
You can find a good target in KvK and still miss the attack. The rally leader moves closer, but participants cannot reach them in time. Everyone teleports forward, then has nowhere to regroup when the counterattack comes. The problem often starts before target selection: the guild has not decided where to stand and how to move from there.
This guide is not about reading the enemy kingdom or assigning R4/R5 duties. For that broader plan, see the guide to reading the enemy kingdom before KvK. Here, we will turn map positions into a workable movement plan. First, check KvK access and teleport conditions on the in-game event screen. Then plan around your guild’s actual march times.
Place the Hive for Its Job, Not Just the Target
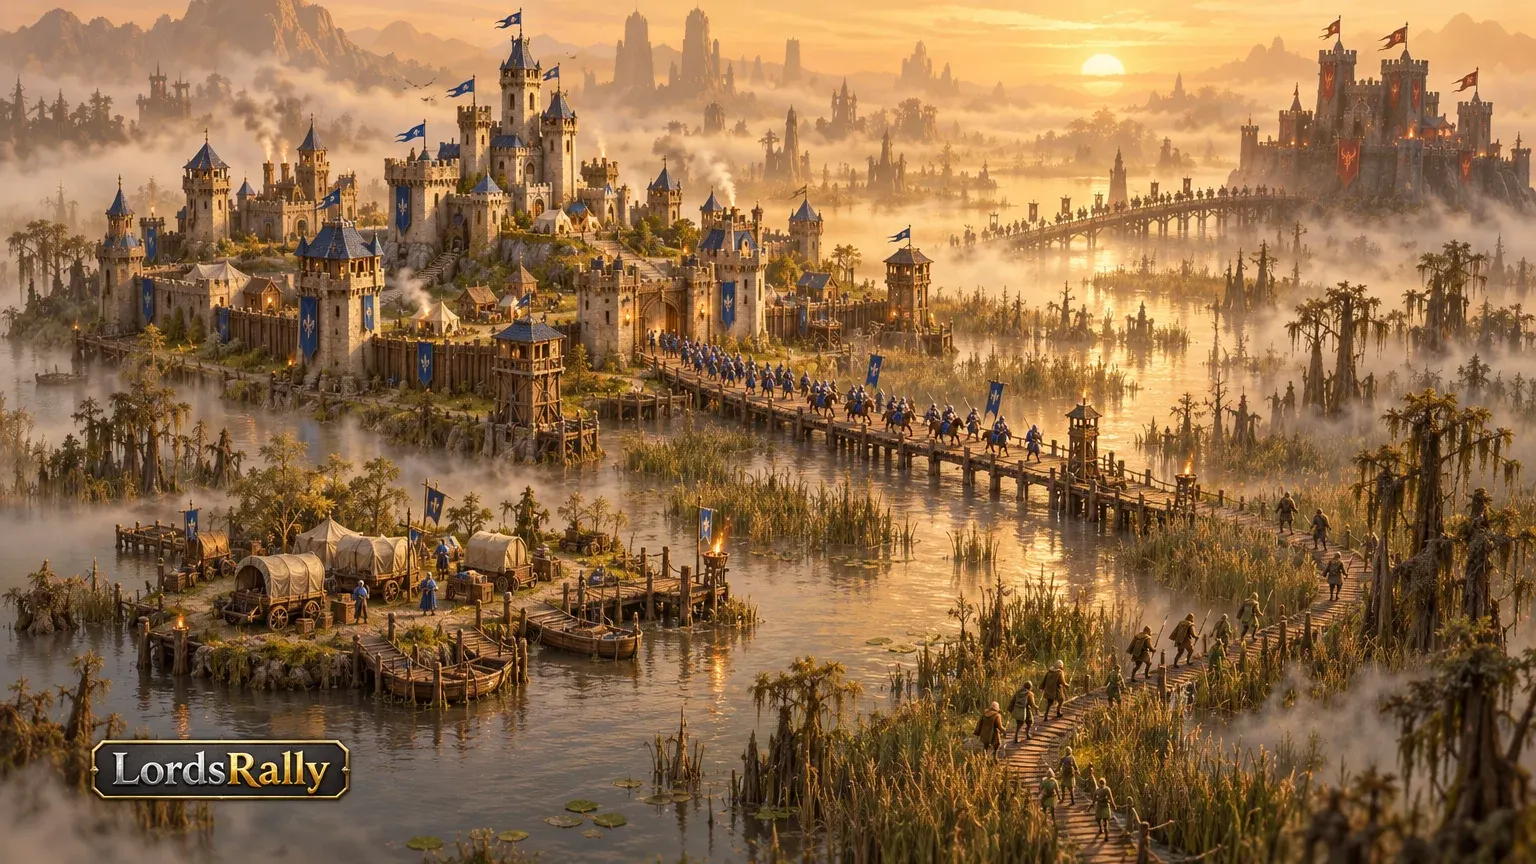
Setting up right beside the target is tempting. But if that is your only criterion, rally arrivals, reinforcement needs, and retreat plans become tangled. Define three areas first: a main gathering area where members can find one another, a forward approach area for the attack, and a backup area to return to if pressure rises. Agree on these areas on the map beforehand; do not make the whole plan depend on one castle’s position.
For example, in a 20-person KvK team, 8 players might join the first attack group, 8 prepare for the next fill and reinforcements, and 4 stay in reserve. They do not all need to move forward at once. Those numbers are an example of role assignment, not a game rule. While the first group moves, the others can hold their positions for the return and second move.
Before choosing a position, ask: Is it easy for participants to march to the rally leader, or does the area only look close to the target? Reaching the leader is part of the plan. Check your guild’s position and the concentration of castles on the map, then assign each group its role. That way, a battle call does not turn into a debate about where everyone should teleport.
The roles of three KvK positions
| Area | Primary role | Check before choosing |
|---|---|---|
| Main gathering area | Organize members and calls | March to the rally leader and return route |
| Forward approach area | Prepare the first move | Enemy movement and participants’ march times |
| Backup area | Regroup after pressure rises | Whether the team can gather there again |
Mark Two Approaches on the Map
A single approach leaves you vulnerable to enemy movement. If the area around the target becomes crowded, an opposing guild moves in, or your planned position is occupied, you need another route. When reviewing the map, choose two possible approach areas: one for the first move and another if the first becomes impractical. Low castle density does not guarantee a safe route.
Consider a 12-person attack group prepared for the first area. The opposing guild gathers on that side, so the leader wants to switch. If nobody discussed an alternative, members may teleport in different directions and end up with different rally march times. A preselected second area lets you give all 12 players one clear new call.
Guilds using LordsRally can inspect castle density in the kingdom with !heatmap; see the commands page for its use. Do not treat a heatmap as proof that a position is empty, a route is safe, or an attack is permitted. Confirm the final choice against the current in-game map and members’ actual march times. You can find other KvK preparation topics on the blog.
Check Rally March Times In-Game—Do Not Guess
Two castles that look close on the map are not necessarily equivalent for rally timing. Consider the participant’s march to the rally leader, the leader’s movement to the target, and the return after the fight separately. March times can change with troop and speed conditions, so do not reuse the timing from your previous attack for a new target.
The key check is: Is the time left to join longer than the participant’s displayed march time? Suppose rally assembly has 4 minutes left, but a member sees a 6-minute march to the leader. Do not assign that member to the first fill on the assumption they will make it. If a different gathering area shows that member a 2-minute march, you can consider moving—but account for the time needed to teleport and issue new orders.
Before opening the rally, have several members check their times. Do not rely only on the fastest player’s answer. If one member is close and another is far away, say clearly who should prepare for the first rally and who should prepare for the next move. Manage the fill using the times on members’ screens, not a guess.
Check timing before opening a rally
- Ask participants for their displayed march times to the rally leader.
- Compare those times with the time left to join.
- Assign members who cannot make it to the next move instead of the first fill.
Do Not Treat the Forward Area as a Permanent Base
Teleporting forward can shorten the attack march, but it does not mean putting the entire guild at the same risk. Treat the forward area as a short-term launch point and the main hive as the place to reorganize. When the opposing guild changes its movements, insisting on “one more hit” can leave the players needed for a second rally in the wrong place.
Suppose 8 players move forward for the first attack. As the opponent gathers nearby, the 4 reserve players also move up without a plan. The whole team could then be caught under the same pressure when it needs to return. Instead, give the reserve group a clear condition: do not relocate until the leader confirms the second target and approach area. That does not mean keeping them idle; it preserves options for the next decision.
Agree on a retreat signal within the forward group, too. If the target receives unexpected reinforcements, rally participants are scattered, or the leader cannot assemble the fill at the new position, pause and reassess the map. Before switching straight to another castle, confirm who has returned and who is still marching. A good position plan defines when to stop, not just when to attack.
Set Retreat and Resupply Conditions Ahead of Time
A retreat call in KvK often comes at the loudest moment. Rather than deciding then, establish three checks before the fight: Who tracks the marches? Who prioritizes healing the wounded? When do you count enough players as ready for a second move? Castles appearing in the same area is not, by itself, proof that the team is ready.
For example, you expect 10 players to regroup after the first attack. If only 6 confirm their march and troop status, do not automatically launch the second attack. Check on the others and assess whether the target window is still open. That number is not a required threshold; it illustrates a decision rule your guild can set in advance.
Do not forget resupply. If healing and new marches will require resources, ask clearly what each player needs instead of distributing resources at random mid-battle. Ready-made RSS resource packs are available from our site. Buying supplies does not replace stock planning, though: check your in-game needs and existing resources first.
Finally, keep calls short: “First group, confirm your return. Second group, hold position. No new rally until the leader confirms the target.” Three clear sentences are more useful under pressure than a long plan.
Share the hive plan with your guild before KvK starts. If you want to see how map monitoring works, visit the features page, or contact us with your questions.
Agree on the retreat call in advance
Launch the second attack only after reconfirming the target, marches, and available troops—not simply because the first rally ended.
Frequently Asked Questions
Should the main hive be as close to the target as possible in KvK?
No. Proximity is not the only factor. Consider participants’ marches to the rally leader, the risk of a counterattack, and the area available for regrouping.
Why mark two approach areas on the map?
If enemy movement makes the first area impractical, you can direct members to an agreed second area instead of leaving each player to choose a position independently.
When should you launch a second rally?
Wait until the leader reconfirms the target and you know the required participants’ march and troop status. Do not continue automatically just because the first rally ended.
LordsRally tracks your target castles, finds them again after they teleport and alerts your guild.
Buy Now