- An unshielded castle is not automatically a good target. Rank targets by defensive uncertainty, access, and likely hive response.
- Plan the first strike as a solo attack or rally based on scouting information and the troops your guild can actually field.
- If reinforcements arrive, gear changes, or a counter-rally begins, reassess instead of following the old plan.
CONTENTS
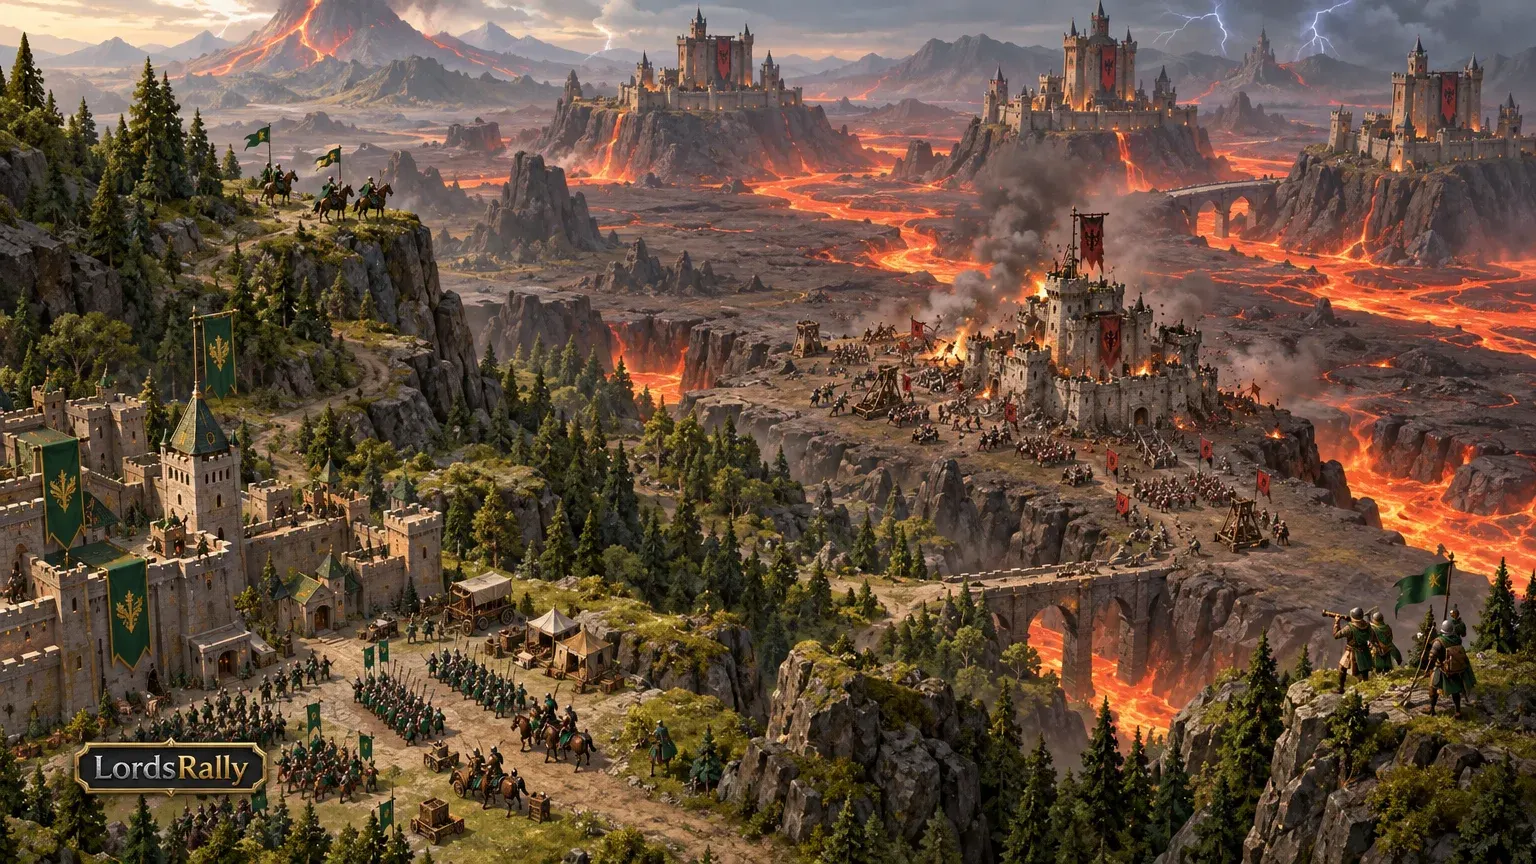
You spot three castles in an enemy hive. Going straight for the one with the highest might is tempting, but if its neighbors can reinforce it, your first hit could wake the entire hive. A hive raid is not about picking the biggest target. It is about keeping control after first contact.
This guide covers how to rank targets, when to rally instead of attacking solo, and what should make you call off the strike. We will use a sample hive with three castles: one shielded and two unshielded. Those numbers are a scenario, not a game rule; use the decision process with whatever your guild encounters.
Why a hive raid is more than one castle attack
Against an isolated castle, you mainly assess that castle's defenses. In a hive, its neighbors matter too. The target may receive reinforcements, switch to defensive gear, or have its guild prepare a counter-rally. Your first target therefore needs to be not just attackable, but manageable after the hit.
Suppose one of two unshielded castles sits in the middle of an active group while the other sits on the edge of the hive. The edge castle is not automatically easy because it has lower might. Its position may, however, give you a clearer approach and exit. Check the surrounding castles first, then scout the target in-game for troop and defense information. If information is missing, mark it explicitly as uncertainty in your attack plan.
Before making the call as an R4 or R5, get answers to three questions: Why this target? What can the nearby castles do? Who gives the stop order if the first report looks bad? Having three players ready for the same target does not make a raid coordinated if nobody can answer those questions.
Rank targets by risk and access
On your first pass, separate castles into three groups: shielded, unshielded with uncertain defenses, and unshielded with usable information. Remove the shielded castle from your immediate attack list. Do not put an unshielded castle first simply because it is open.
When choosing between two open targets, work through this order:
- Information: Do you have a current scout report or a reliable previous battle report? Do not assume troops shown in an old report are still inside.
- Response: If the target appears active, account for a possible gear or formation change. Watch nearby guildmates too.
- Access: Are your attackers ready? Judge travel and rally fill time by who can actually participate.
- Exit: If the first strike goes worse than expected, will you withdraw, or do you have a prepared second target?
For example, castles A and B are both unshielded. You have no current scout report on A, but you have recent defense information on B. Even if B has higher might, it may make more sense to assess B first. That does not mean you must attack it. Information helps set target order; it does not grant permission to attack on its own.
A guild using LordsRally can filter unshielded candidates with !unshielded and check a candidate's current status with !find. These tools make the first pass easier, but they do not replace scouting or a battle decision. See the available tools on the commands and features pages.
First-target decision table
| Observation | Initial decision |
|---|---|
| Shielded castle | Remove it from the immediate attack list. |
| Unshielded, defenses uncertain | Gather information first; do not assume it is easy. |
| Unshielded, information available | Assess participation and the likely hive response. |
First contact: solo attack or rally?
Do not decide from might alone. For a solo attack, weigh the risk your own army and leader will carry. For a rally, check whether participants are actually ready. Starting a rally will not fix an incomplete fill or the wrong troop type.
Suppose scouting shows an infantry frontline. Considering cavalry makes sense: among the three basic troop types, cavalry counters infantry, ranged counters cavalry, and infantry counters ranged. But the frontline you see is not the castle's entire defense. The target can change formation, receive reinforcements, or leave you working with incomplete information. Treat scouting as a starting point, not a guaranteed outcome.
Consider a solo strike only when you understand the risk to your army and have enough information about the target. If you need several guildmates, plan a rally—but first settle the troop type, leader, and person responsible for filling it. If four players are online but only two can send the requested troops, you do not have a ready rally just because four names appear on-screen.
What changes the plan during the attack?
The most expensive hive-raid mistake is sticking to your first decision after the target has changed. The situation can shift between the rally call and the march. Announce your stop conditions before making the call.
The first condition is a defensive change: if the target's gear or observed status changes, reassess. The second is reinforcement: do not attack on the basis of an old scout report when you do not know what entered the castle. Third is lost participation: a plan built for four players is not the same plan with two. Fourth is a counterattack: if your own unshielded castles come under threat while you focus on offense, your priorities may change.
For example, the target receives reinforcements during rally preparation, and your guild also fails to fill the rally as planned. Those are two risks at once. The leader cannot justify proceeding solely because the target is still unshielded; reassess both its defenses and your new rally fill. For a closer look at that decision, read whether to continue a rally after the target receives reinforcements.
If the first strike lands, do not call the second automatically. Discuss the troops you encountered and your losses in the report first. Planning a second strike from a battle report can help you avoid repeating the same mistake.
Signs you should reassess the rally
- The target's defensive status or gear changes.
- The target receives reinforcements.
- The rally does not fill as planned.
- Your guild's exposed castles come under threat.
Manage the hive's response after the hit
The raid is not necessarily over when the first castle burns, but you do not have to move immediately to the next one either. Take a short status check: Where are your attackers' armies? How many wounded do they have? Have nearby castles become active? Is anyone in your guild exposed?
Return to the three-castle example. After hitting the first open castle, read that battle report before turning to the second. If the second castle has switched to defensive gear, your original target order is outdated. Do not treat the shielded third castle as an attack target just because it is in the hive. Judge the raid by whether the result was worth the losses, not by how many castles you hit.
Assign one person to make calls at this stage. Rather than choosing separate targets, participants should send that person the report and any new observations. Then announce one of three decisions clearly: continue, switch targets, or withdraw. For more war and formation guides, browse the blog.
For your next hive raid, make sure your guild knows who chooses the target and who can give the stop order. If you want to discuss the intelligence tools you use, get in touch.
Frequently Asked Questions
Should the lowest-might castle be the first target in a hive raid?
No. Might is only one signal. Consider current defense information, whether the target is active, the chance of nearby reinforcements, and the troops your guild has ready.
Can we launch a solo attack on an unshielded target without scouting?
You can, but missing information increases the risk of losses. If you do not know the target's defenses, do not plan the first attack as though it were safe.
Should we move to the second target immediately after the first strike?
Check the battle report, your losses, and the hive's response first. If those findings change the original plan, reassess before attacking again.
LordsRally tracks your target castles, finds them again after they teleport and alerts your guild.
Buy Now